

I can't believe after all the times I've made homemade fondant that I haven't taken pictures and posted it on here. That's probably because making fondant can be a sticky gooey mess. For instance, right now, my hands are a lovely shade of fuchsia that's not showing any signs of scrubbing off in the near future. I still think it's seriously fun to do, though, and even my first time making it I came out with pretty good results. I'll do a tutorial soon on making fondant cupcake toppers, but for now I just want to share the recipe that I always use. It's super easy to make, super tasty, and kids of all ages will love it (even me).
DIY Fondant
Yield: enough to coat 2 8" cakes or 24-36 cupcakes
INGREDIENTS
15 ounces mini-marshmallows (bigger ones won't melt properly)
2 tbsp water
2 pounds powdered sugar, 1 cup reserved
1 tsp vanilla extract or lemon juice (optional)
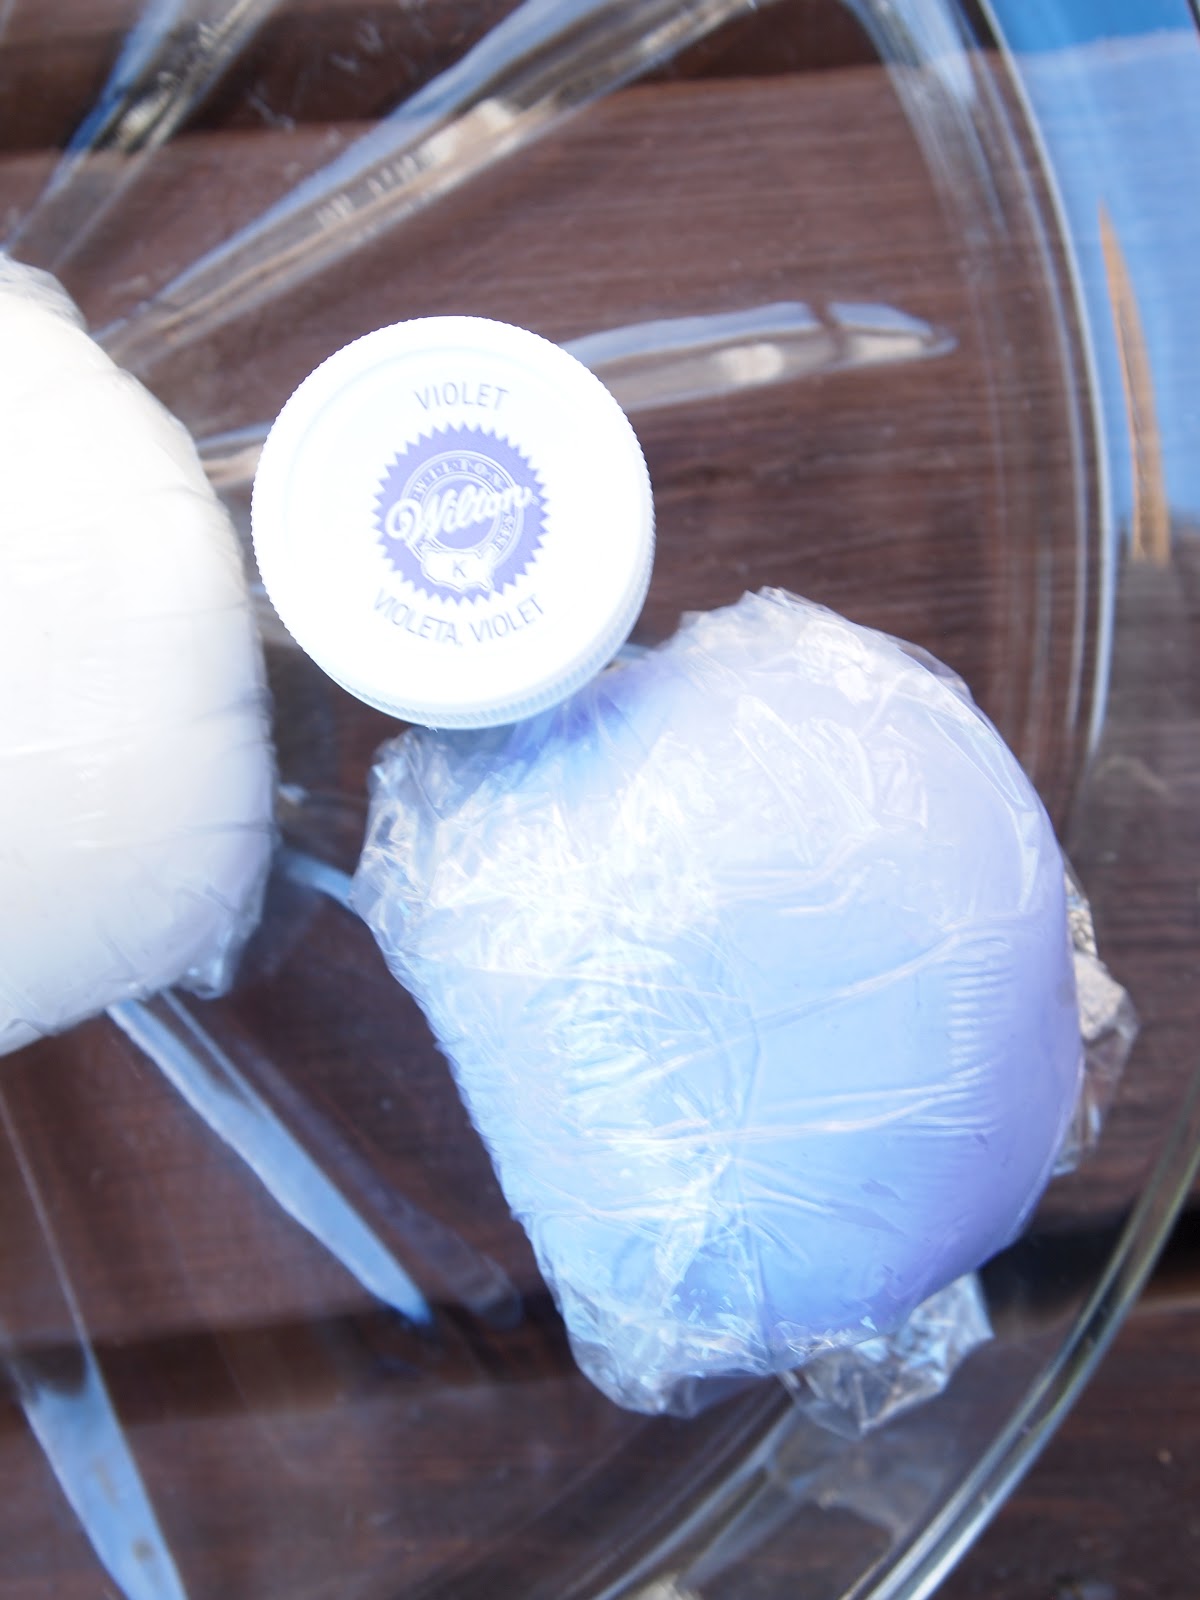
gel food coloring (Ateco or Wilton brand works best)

DIRECTIONS
Before you begin, grease all utensils and bowls (including your hands when they're handling the fondant) with a thin layer of vegetable shortening. In a microwave safe bowl add the mini marshmallows and water. Microwave in 30 seconds intervals, stirring each time, until the marshmallows are completely melted.
Meanwhile, in the bowl of a stand mixer fitted with the paddle attachment add the powdered sugar. Pour the melted marshmallows into the mixer and turn it to low speed (be careful since powdered sugar might fly out). Once most of the sugar is incorporated turn the mixer up one notch (just one!) and beat until the fondant comes together, about 30 seconds. At this point you can add reserved sugar if the mixture is too sticky. There may also be some sugar left in the bottom of the bowl. That's all fine.
Dump the fondant out onto a well greased surface and knead with your hands until the fondant feels smooth. It might be slightly sticky at this point, or slightly dry. I like to incorporate a dab or two of vegetable shortening into the fondant to smooth it out and make it more pliable and smooth if it is tough to work with.

To color the fondant, flatten a ball out on a well-greased work surface (I like a glass platter or disposable cardboard cake circle). Use a toothpick to add a dab of food coloring in the center. Fold the fondant over several times and knead until it is uniform in color, about 10 minutes. Rub the ball of fondant with vegetable shortening, wrap in plastic, and let rest 2 hours before using.


8 Response to DIY Fondant
Hi, some
Good tips here as I always just buy ready to roll
Icing. When you say 'powdered' sugar do you mean icing sugar? Also, what is vegetable shortening?
Thanks,
Ciara
Hi Ciara! Yes, by powdered sugar I do mean icing sugar or confectioners sugar. Vegetable shortening is just Crisco or solidified vegetable oil, you can find it in the oil section of your grocery store. Hope this helps!
Sarah
I never wanted to eat fondant because I had no idea what was in it. Now that I see your homemade version.. I will definitely want to try it. I love this recipe. :)
I'm excited to see this! I have to think this tastes a heck of a lot better than what I can buy!
Must you use fondant right away or does it keep? If is does keep how do you package it and how long will it be good for?
Thanks
I'm curious how long this keeps, as well. Can you freeze it?
Try adding the coloring to the melted marshmallows. Less kneading later ;)
Post a Comment